
Wondering how to build a simple, natural-looking background for your aquarium? The good news is, with a few basic steps and easy-to-find materials, you can craft a backdrop that isn’t just attractive but also safe for your fish.
Whether you want a lush underwater scene or a minimalistic design, this guide will help you create a secure and realistic habitat.
Keep reading to learn how to get started.
How to Measure and Plan Your Aquarium Background
Measure your aquarium’s interior back wall accurately before cutting any background material. Record the height and width of the back panel to serve as your standard for cutting. Include the depth only if your design extends around side walls or needs to clear internal structures. For larger tanks, divide the background into multiple pieces to make handling and installation easier. Sketch your measurements first to help visualize your plan and identify potential adjustments. When creating miniature landscapes, consider how the background will add depth and contrast, helping your aquascape stand out. Mark the locations of hardware such as heaters, filters, and cords to prevent interference during installation. Dry-fit your background pieces inside the tank to check fit and clearance. This step helps you avoid gaps that could allow fish to escape and ensures a clean, professional look. Proper measurement and planning result in a seamless background that enhances your aquarium’s visual appeal. Additionally, paying close attention to accurate measurements will ensure a better fit and a more polished overall appearance. Taking the time to precisely measure your tank can prevent costly mistakes during installation.
Incorporating efficient measurement techniques can further streamline your background installation process and improve overall precision.


Premium Thick Material – Made from high-quality PVC or PET, this background blocks light completely and hides unwanted clutter, making your aquarium look cleaner and more professional.
Choosing the Best Material and Design Style for Your Aquarium
Selecting the right material and design style for your aquarium background is crucial for both aesthetics and functionality. Durability is key since the background will be exposed to constant water contact; materials that can withstand this environment without warping or degrading are essential. Polystyrene sheets, particularly 1- or 2-inch thick varieties, are popular because they are easy to work with and provide sufficient support for cement or epoxy coatings. Closed-cell foam offers water resistance and inhibits bacterial growth, making it an excellent choice for long-term use. Pink foam is ideal if you want to carve intricate rock formations or shelves, thanks to its softness and ease of shaping.
Design versatility allows you to create various themes, such as natural-looking landscapes with earthy tones, vibrant coral reef scenes, or fantasy habitats with glowing elements. Consider the size of your tank when planning your background; large tanks may require two-piece designs to ensure a snug fit that prevents water leaks. Using durable, non-toxic materials not only protects your aquatic life but also keeps your aquarium visually appealing over time.
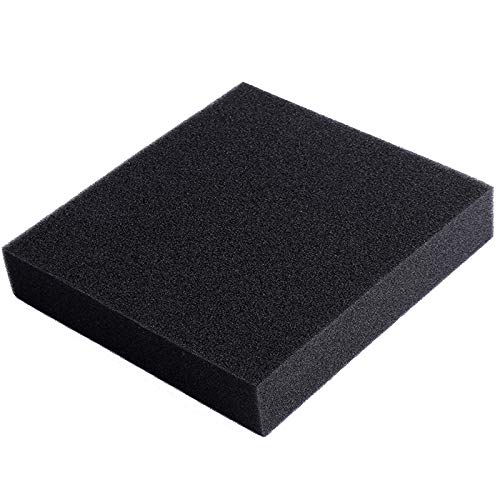
Dimension: 11" Lx 10.25"W x 2"H, PPI: 40 black fine

Dimensions: 1/2" Thick x 13" Wide x 60" Long.Artilife closed cell foam roll can be easily cut into custom foam sheets and foam pads, fit for daily insulation, sealing and padding with polyethylene foam material.

Dimensions: 1/8" × 13" × 80"; polyethylene closed cell foam roll, easily cut for insulation, sealing and padding.
Building Your Background : Step by Step
Building your aquarium background begins with precise measurement and planning to ensure a perfect fit. Start by measuring the back panel and any side sections of your tank before cutting your materials. Use a flexible ruler or measuring tape for accuracy, and double-check your measurements to avoid errors. Dry-fit all pieces inside the tank to verify clearance and make adjustments as needed. Mark openings for filter intakes, heaters, and other equipment early in the process to prevent repositioning later. For larger tanks, break the background into manageable sections and mark shapes beforehand to ensure correct alignment during carving and trimming. When shaping, cut foam or board to your measured dimensions, layering and stacking pieces if extra depth is required. Secure the background with silicone adhesive, ensuring gaps are sealed tightly to prevent water migration. Performing leak tests with water in the tank prior to fully sealing and completing the setup is crucial to identify any potential issues. You might also consider waterproofing methods to enhance durability and prevent future leaks. Proper sealing is essential to avoid leaks and water damage over time, especially when considering aquarium setup longevity. Then, allow proper curing time before adding life support systems and decorations.

SAFE FOR THE FISH: Selsil Aquarium Silicone is a silicone sealant used in glass bonding work. It does not contain chemicals or solvents that are not friendly to your fish or other organisms in the aquarium. This product is made from 100% silicone polymer, is used in aquarium manufacturing, and conforms with the ISO 11600 –F&G–25 LM standards.
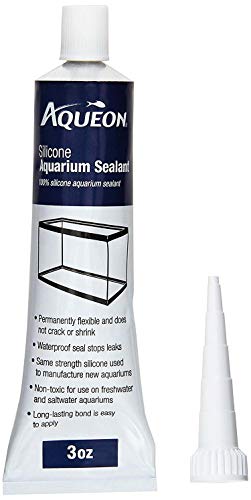
Waterproof seal stops leaks
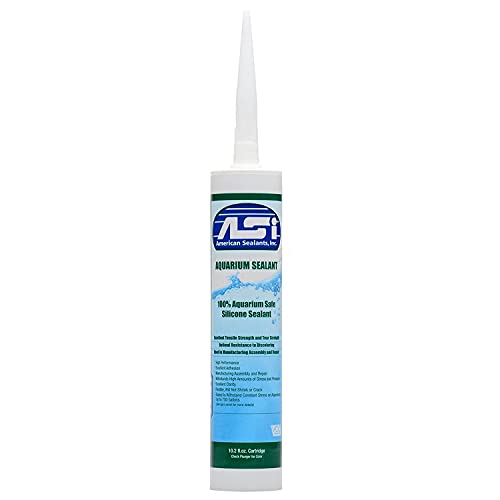
This high modulus component RTV Silicone Sealant forms strong cohesive bonds to glass without the need of primers
How to Create Realistic Textures With Surface Coatings
To create realistic textures with surface coatings, start by applying thin base coats to conceal seams of foam or cement, providing a smooth foundation. Layer multiple coats to build a more natural stone look rather than opting for a single bulky layer. Use darker or lighter shades in subsequent coats to imitate mineral variation and shadows, adding depth and realism. For microtextures, dab with sponges or sculpting tools to create irregular surfaces that resemble rock textures. Incorporate patterns using texture tools like brushes or pressing sand into wet silicone, mimicking erosion or gritty stone effects. To enhance color authenticity, select base hues similar to natural rock, then apply darker tones in recessed areas and lighter shades on edges to simulate wear. Applying layered colors breaks flatness, resulting in a convincing, natural appearance. Incorporating surface coatings similar to those used in creating aquatic backgrounds can further improve the realism of your textured surface.
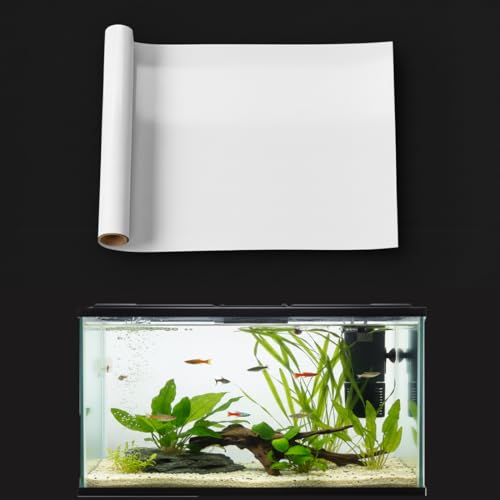
【Static & No Residue】 Applies with static cling, no glue needed. Removes cleanly without residue and is reusable.

High definition printing: The fish tank background adopts high definition high resolution printing, bright colors and clear details, presenting realistic scenes and instantly improving the visual effect of the fish tank.

Large & Cuttable: Measuring 25.2" L x 11.8" W, the black aquarium background fits most standard tanks perfectly. Instant customization at your fingertips – simply trim to fit your specific tank dimensions for a professional look
Sealing and Installing Your Background Safely in the Tank
To install your aquarium background safely, surface preparation is crucial. Begin by cleaning the tank glass with an aquarium-safe cleaner or white vinegar to eliminate dust, grease, and fingerprints. Dry the surface thoroughly to ensure no moisture remains, which can interfere with adhesion. Perform a dry fit by placing the background inside the tank to verify it covers the entire viewing area and aligns properly with the glass. Use 100% aquarium-safe silicone and apply a thin, even layer along the edges of the background, avoiding thick layers that can trap air or cause seepage. Start applying from the top edge, smoothing the background downward and outward with a finger or a tool to eliminate bubbles and wrinkles. Hold the background briefly in place to help the silicone set, then allow 24 to 48 hours for curing before filling the tank or turning on any lights. After installation, carefully check all seams and edges for leaks, making sure the seal is secure before adding water or decorations. Proper surface preparation ensures the adhesive or silicone bonds effectively and prevents future leaks. Additionally, choosing the right adhesive methods helps to maintain a secure and durable seal over time. Ensuring the background remains securely attached involves verifying the bond strength by gently pressing along the edges once cured.

【Novique Aquarium Silicone Sealant】: Have you ever felt extremely frustrated when your beloved aquarium started leaking and you had to throw it away? Novique Aquarium Sealant is specifically designed to save your aquarium. It is safe, durable, and provides strong sealing to prevent water leakage. It cures quickly and is widely applicable. You don't need to replace aquarium, simply apply it on the leakage area and a durable and stable waterproof barrier will be formed.

Fish Safety:Aquarium sealant clear is a non-toxic, solvent-free acid cured silicone sealant, 100% Silicone, which is friendly to underwater organisms, protects fish safety, and is your best repair choice.
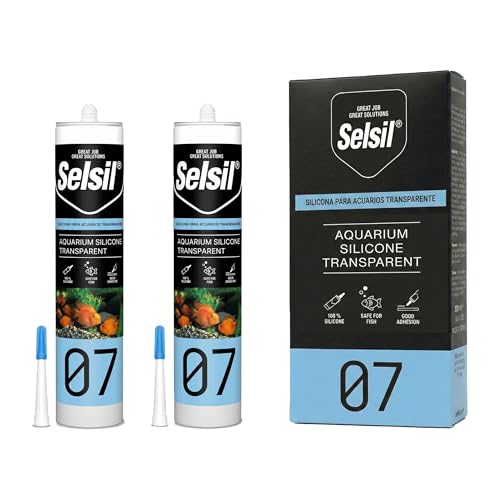
SAFE FOR THE FISH: Selsil Aquarium Silicone is a silicone sealant used in glass bonding work. It does not contain chemicals or solvents that are not friendly to your fish or other organisms in the aquarium. This product is made from 100% silicone polymer, is used in aquarium manufacturing, and conforms with the ISO 11600 –F&G–25 LM standards.
Finishing Touches: Painting, Detailing, and Adding Realistic Effects
To create a convincing and natural-looking aquarium background, detailed painting and realistic effects are key. Start by applying multiple thin coats of paint, blending different shades of blue and green to build depth and mimic the look of water. Use wet paint and a paper towel to soften edges and blend colors smoothly, working in small sections to maintain control. Enhance surface textures by pressing irregular shapes or fine materials into wet foam or coatings, creating natural variations such as rocks, coral, or plant roots. Incorporating coral propagation techniques into the background design can add authenticity and help mimic a natural reef environment. Dry brushing darker or lighter hues over the painted surface highlights crevices and raised areas, adding depth and visual interest. Once satisfied with the texture, seal the entire surface with a clear spray, lacquer, or epoxy resin. Ensure each layer is fully cured before proceeding to prevent smudging or damage, resulting in a stable, realistic background that withstands moisture and time.
Troubleshooting and Ensuring Safety Before Filling Your Tank
To ensure your aquarium is safe and leak-free before filling, start by inspecting all edges for continuous contact with the glass. Gaps can allow water seepage and compromise stability. Use aquarium-specific silicone to secure interior or 3D backgrounds, applying thorough coverage at seams and corners. This reduces the risk of leaks and helps blend the background seamlessly with the tank’s appearance. Once bonded, leave the silicone to cure undisturbed for 24 to 48 hours to ensure a strong, waterproof seal.
Next, perform a partial fill test by filling the tank one-third full, then halfway, gradually checking for any leaks or shifting of the background or seams. This step helps identify issues before the tank is fully filled, avoiding potential water damage. Ensure the background does not obstruct essential equipment such as filters and heaters, and verify it fits securely and remains stable during the test.
Finally, thoroughly clean all surfaces to remove dust, fingerprints, or residue, and confirm all materials used are aquarium-safe. Proper surface cleaning and careful material selection protect your tank and aquatic life from any harmful chemicals or contamination prior to the full fill.
Maintaining and Cleaning Your Aquarium Background Over Time
Regular maintenance is essential to keep your aquarium background in good condition and prevent issues like algae buildup, detachment, or cracks. Weekly inspections should include gently brushing the surface with soft tools, such as a microfiber cloth or a soft-bristled brush, to remove algae and organic residues—especially on detachable backgrounds. When cleaning, rinse thoroughly with dechlorinated water to ensure no residues remain that could harm your fish. For vinyl wraps, use a microfiber cloth and distilled water to prevent damage, avoiding harsh scrubbing or abrasive tools that could scratch or deteriorate the material. Limiting lighting exposure and performing routine water changes help reduce algae growth and dirt accumulation over time. Regularly check for signs of detachment or cracks, and always dry and clean background materials outside the tank to extend their lifespan and ensure safe, cost-effective upkeep. Additionally, considering the type of aquarium background you select can influence maintenance efforts and longevity, with detachable backgrounds often making cleaning easier. Recognizing the material of the background can also help determine the most suitable cleaning method and improve its durability over time.
Common Mistakes to Avoid When Building Aquarium Backgrounds
To avoid common mistakes, always measure the internal back panel dimensions of your aquarium before installing a background. Use a tape measure or ruler to obtain precise measurements and dry-fit the background material first. This step prevents fitting issues that can lead to overcrowding or stress on seams. A background that’s too large can press against side panels or cause cracking, compromising the tank’s structural integrity.
When attaching the background, only use aquarium-safe silicone, not household sealants, as household products can be toxic to aquatic life. Ensure that materials like foam or MDF are properly sealed with waterproof paint or a compatible sealant to prevent leaks. Rushing the curing process or applying insufficient adhesive weakens the setup, increasing the risk of parts detaching over time. Additionally, understanding the importance of tank stability and proper placement can help prevent structural issues later on.
Lighting considerations are often overlooked but are crucial. Your background should be designed to accommodate proper lighting for plant growth and visibility. Adjustments in the background’s shape and placement can improve light distribution and enhance the overall appearance.
Lastly, pay attention to layout details. Create depth by incorporating slopes, support structures, and varied hardscape positions. Avoid flat, shallow backgrounds that lack visual interest and dimension. A balanced design with layered elements will enhance the realism and enhance your aquarium’s safety and aesthetic appeal.